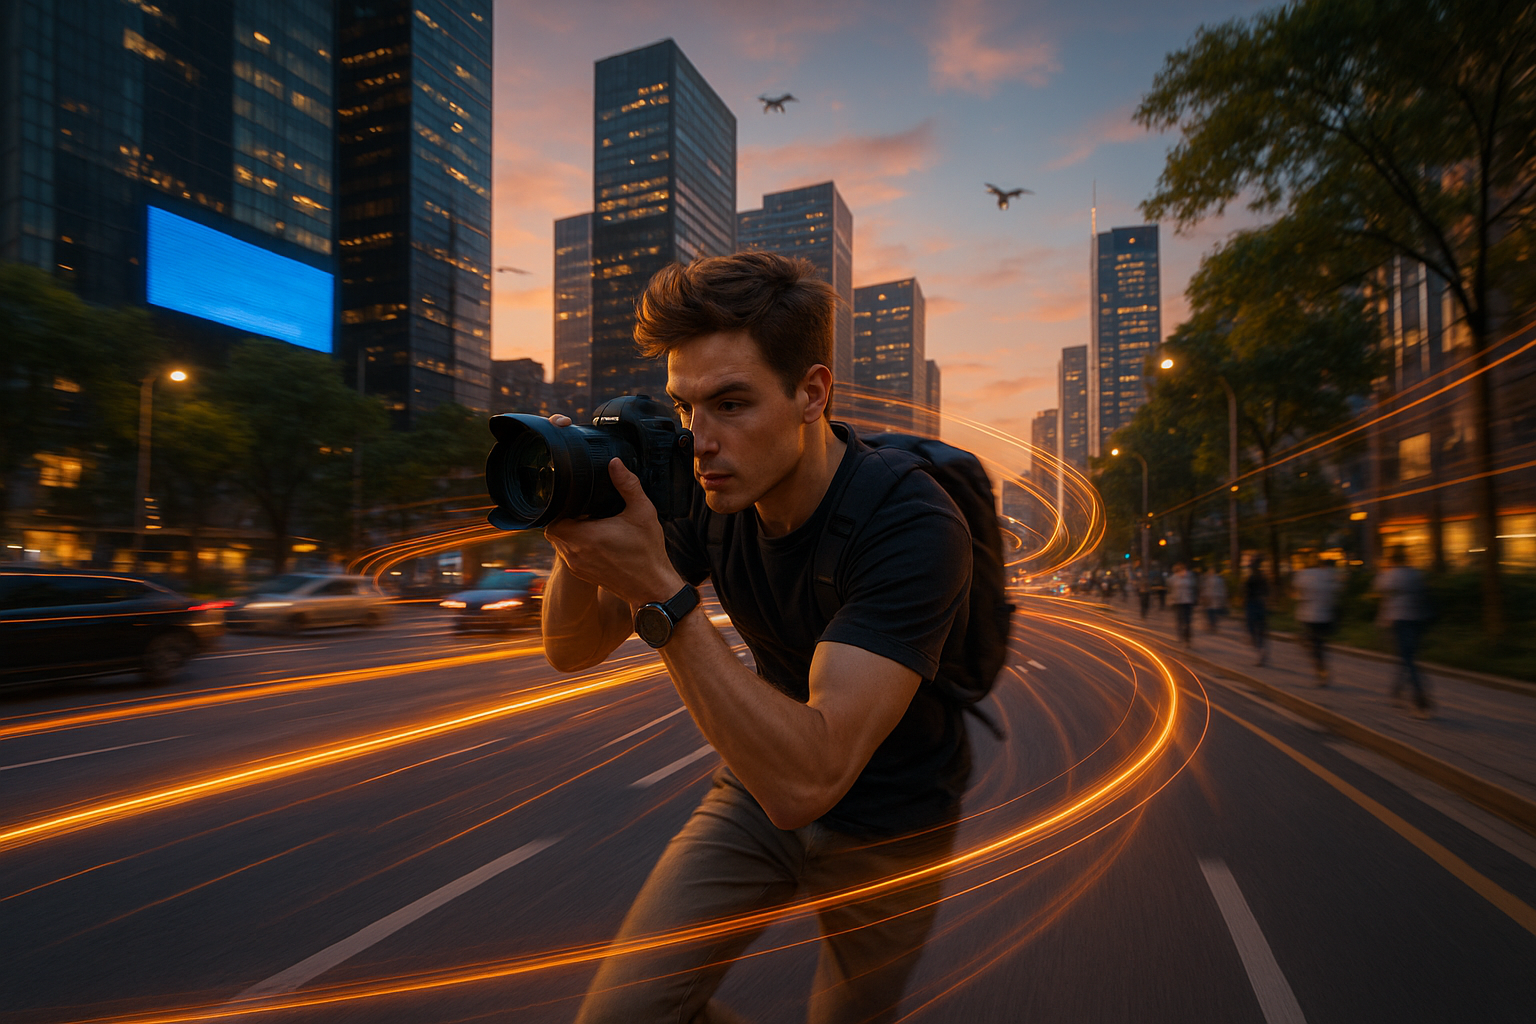
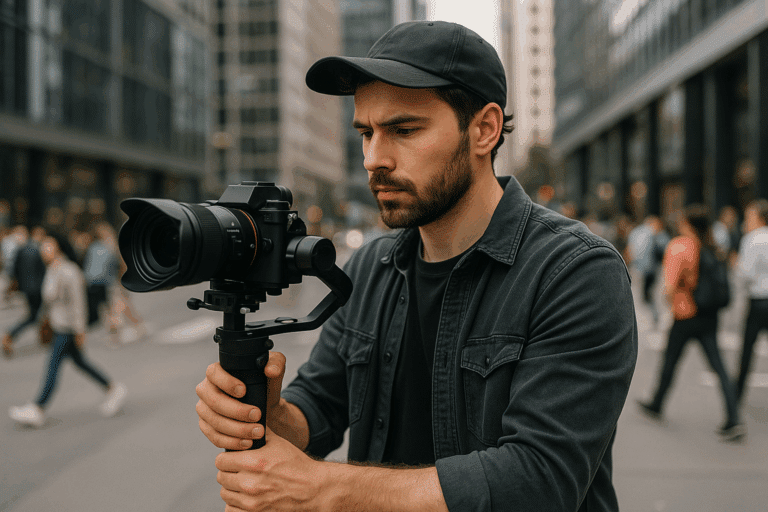
Imagine capturing the essence of an entire day in a bustling city, from sunrise to sunset, in a single short video. Visualize the clouds drifting in the sky, the sun rising and setting, and people hurrying through their daily routines in a span of few minutes. 🌅🏙️ That’s what hyperlapse videos do—they take us on a journey through time and space at an accelerated pace.
The art of creating hyperlapse videos can seem daunting, but it doesn’t have to be. It’s about capturing the movement of time in a creative, accelerated way, and it’s a technique that’s become increasingly popular in the digital age. With the right knowledge, you too can master this technique, creating stunning hyperlapse videos that are sure to impress.
What This Article Will Cover
Think of this as your comprehensive guide to hyperlapse techniques. We’ll delve into what hyperlapse photography is, how it differs from its close cousin timelapse, and why it’s a useful skill to add to your digital repertoire. 📖💡 We’ll talk about the equipment you’ll need (spoiler alert: it’s probably less than you think) and the fundamentals of planning a hyperlapse shoot.
We’ll also guide you through the process of capturing images for your hyperlapse, including tips on composition, exposure, and frame rate. We’ll explore how to stabilize and edit your footage in post-production. Finally, we’ll reveal how to create hyperlapse videos without using special apps, making the technique more accessible to everyone, regardless of your budget.
Who This Article Is For
Whether you’re a professional videographer looking to expand your skills, a hobbyist photographer seeking new ways to express your creativity, or simply someone intrigued by the hyperlapse videos you’ve seen on social media, this guide is for you. 🎥🚀 No previous experience with hyperlapse is required—we’ll start from the basics and work our way up.
While mastering hyperlapse does require patience and practice, the rewards are well worth it. When done correctly, hyperlapse can add a unique dynamic element to your videos, transforming ordinary scenes into extraordinary visual experiences. It’s a technique that’s bound to captivate your audience, whether you’re creating videos for personal enjoyment, social media, or professional projects.
The Journey Ahead
Mastering hyperlapse is a journey through time and space, and we’re here to guide you every step of the way. So buckle up and get ready for an exciting ride. By the end of this article, you’ll have all the knowledge and tools you need to create your own stunning hyperlapse videos without special apps. Let’s get started! 🚀🌌
From understanding the basics of hyperlapse and planning your shoot, to capturing and editing your footage, you’re about to embark on a journey of learning and discovery. Are you ready to zoom through time with us?
Unlocking the Magic of Fast Hyperlapse: A Comprehensive Guide
Immerse yourself in the world of fast hyperlapse, a cutting-edge technique that can transform everyday scenes into mesmerizing time-bending visuals. Whether you’re a seasoned videographer or a passionate hobbyist, mastering the art of fast hyperlapse can add a new dimension to your creative portfolio. The best part? You don’t need any special apps or high-end equipment. By the end of this comprehensive guide, you’ll know exactly how to create your own stunning fast hyperlapse videos.
Fast hyperlapse involves the use of time-lapse photography and camera movement to create an accelerated sequence of images. This technique can make the mundane mesmerizing, like making a slow-moving cloud formation appear to hurtle across the sky, or a busy city street seem to pulse with hyper-speed activity.
Before we dive into the nuts and bolts of fast hyperlapse, let’s get our feet wet with some visual inspiration. I strongly recommend watching “Incredible Hyperlapse Videos” from the YouTube channel ‘The Film Look’. It offers a collection of outstanding fast hyperlapse videos, giving you a glimpse of what you can achieve with this technique.
The Anatomy of Fast Hyperlapse: Essential Components
At its core, fast hyperlapse comprises three fundamental components: interval, duration, and movement. The interval refers to the time between each shot, duration is the total length of the clip, and movement is the path along which the camera travels. By manipulating these three variables, you can create a variety of visual effects, from rapid-fire cityscapes to surreal landscapes that stretch and distort time.
While the concept of fast hyperlapse may seem intimidating at first, it’s surprisingly accessible once you understand these fundamental components. You don’t need any fancy equipment or complex software to get started; a basic digital camera or even a smartphone will suffice.
To illustrate how these components interact, let’s take a look at the following table:
| Component | Function | Impact on Fast Hyperlapse |
| Interval | Time between each shot | Determines the speed of the scene’s progression |
| Duration | Total length of the clip | Affects the perceived speed and intensity of the sequence |
| Movement | Path along which the camera travels | Shapes the dynamic and directionality of the visual narrative |
Stepping Into Action: Practical Guide to Shooting Fast Hyperlapse
Now that we’ve grasped the basics, it’s time to get hands-on. Creating fast hyperlapse involves a series of steps, from planning and shooting to post-processing. Here, we’ll break down each stage of the process, providing you with practical tips and strategies to help you get the best possible results.
Planning Your Shoot
Fast hyperlapse is as much an art as it is a technical skill, and like any art form, it requires careful planning. This involves choosing a suitable location, considering the lighting conditions, and plotting your camera’s path. A good practice is to scout your location beforehand and envision the final outcome.
While planning, consider what kind of movement you want in your hyperlapse. Do you want to move straight, curve, or maybe pan up or down? Each choice will result in a different effect, so be sure to experiment.
Shooting Your Sequence
When shooting, maintain a consistent interval between shots. This will ensure a smooth transition between frames, which is crucial for creating the illusion of seamless movement. Make sure to keep your camera as steady as possible to prevent shaky footage. This could mean using a tripod, monopod, or other stabilization tools.
Another tip is to use manual settings on your camera. This allows you to maintain consistent exposure and focus throughout the sequence, contributing to a smoother final result.
Post-Processing
Once you’ve captured your sequence, it’s time to bring it all together in post-processing. Here, you’ll stitch together your photos into a video, adjust the speed, and fine-tune the visuals. Software like Adobe After Effects or DaVinci Resolve can help you with this task, but there are also free alternatives available.
If you need a more detailed walkthrough on this stage, “Post Processing Hyperlapse Tutorial” by ‘Ben Claremont’ on YouTube provides an excellent guide.
Nailing the Details: Expert Tips for Polished Results
Mastering fast hyperlapse involves refining your technique and learning from experience. Here are some expert tips to help you nail the details and elevate your results to the next level.
- Be patient: Hyperlapse photography can be time-consuming, especially for beginners. Don’t rush the process; take the time to get each shot right.
- Experiment: Don’t be afraid to try different intervals, paths, and subjects. Each experiment brings you one step closer to finding your unique style.
- Embrace post-processing: Post-processing is not cheating—it’s an integral part of the fast hyperlapse process. Use it to fine-tune your visuals and create a seamless final product.
Creating fast hyperlapse can be challenging, but it’s also rewarding. With practice and patience, you’ll soon be creating your own stunning sequences that defy the conventional boundaries of time and space. So why not give it a shot? Grab your camera, hit the streets, and start exploring the fascinating world of fast hyperlapse.

Conclusion
In wrapping up this article, it’s essential to recap the primary points discussed, shedding light on their significance, and inviting you to further participate in the conversation.
Firstly, we delved into the intricate world of Software Engineering, unpacking its concepts, applications, and importance in today’s digital era. We dissected the field’s inherent complexities, painting a vivid picture of its significance in a myriad of industries and sectors, from healthcare to finance, and beyond.
In our exploration, we highlighted the role of programming languages and software development life cycle (SDLC), helping to simplify these often-complicated concepts. It’s worth mentioning once again, the importance of programming languages in writing instructions for computers. These instructions form the basis of the software that powers our world. Additionally, we examined the SDLC and its role in guiding the process of developing software solutions.
We also looked at various software engineering paradigms like waterfall, spiral, and agile methodologies. Each methodology, as we discussed, has its strengths and weaknesses and is chosen based on the requirements of the project at hand.
Next, we investigated the importance of software testing and quality assurance in maintaining the integrity of software products. As we pointed out, software testing is not just a single activity. It encompasses a multitude of tasks including unit testing, integration testing, functional testing, system testing, acceptance testing, and non-functional testing.
In the end, we circled back to the very heart of software engineering – problem-solving. After all, software engineers are essentially problem solvers, using their specialized knowledge to create solutions that make life easier, businesses more efficient, and the world a better place.
🌐 But the world of software engineering doesn’t stop here. It continues to evolve, driven by advancements in technology and changing market demands. And, with this evolution comes opportunities for growth and innovation.
We hope this article has given you a better understanding of software engineering, its components, and its impact. If there are areas that you would like us to delve into further, don’t hesitate to leave a comment below. We value your input and are committed to providing valuable, insightful content.
Why not share this article with your colleagues or friends who might find it useful? 🚀 Knowledge shared is knowledge multiplied.
And remember, don’t just read. Apply! This field is as practical as it is theoretical. Try your hands at coding, experiment with different software development methodologies, and always stay curious. You never know what you might discover! 💡
Feel free to dive deeper into this subject matter by exploring these trusted resources: [ResearchGate](https://www.researchgate.net/), [Google Scholar](https://scholar.google.com/), [IEEE Xplore](https://ieeexplore.ieee.org/Xplore/home.jsp), and [ACM Digital Library](https://dl.acm.org/).
Thank you for reading, and we look forward to engaging more with you on this exciting topic! 🎉🌟
Reference List:
- IEEE Computer Society. (2014). Guide to the Software Engineering Body of Knowledge (SWEBOK(R)): Version 3.0. IEEE.
- Sommerville, I. (2015). Software Engineering (10th ed.). Pearson.
- Pressman, R. S., & Maxim, B. R. (2014). Software Engineering: A Practitioner’s Approach (8th ed.). McGraw-Hill Education.


